Starting with the Ford Motorsport Bullitt Dead pedal and bracket, it is a fairly straight forward process to create the modified bracket and to mount the pedal in your SVT Focus. Knowledge of welding or basic fabrication is necessary - the welding could be done at a nearby muffler shop if need be.
Tools Required:
Flat Head Screwdriver
Hack saw or any steel cutting device - steel saw, or die grinder
Drill
Sheet Metal Screws
L-shaped metal bracket (it will be cut and bent to fit as shown below)
A strong vice, for bending the metal to the desire angle so that it sits nicely against the floor.
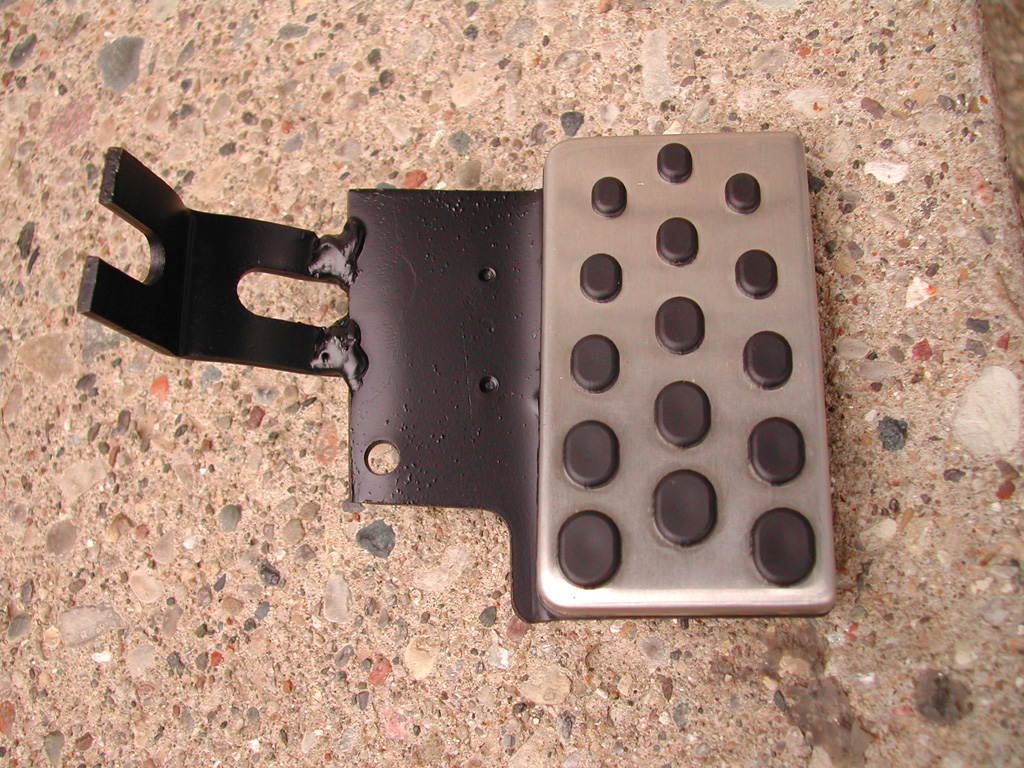
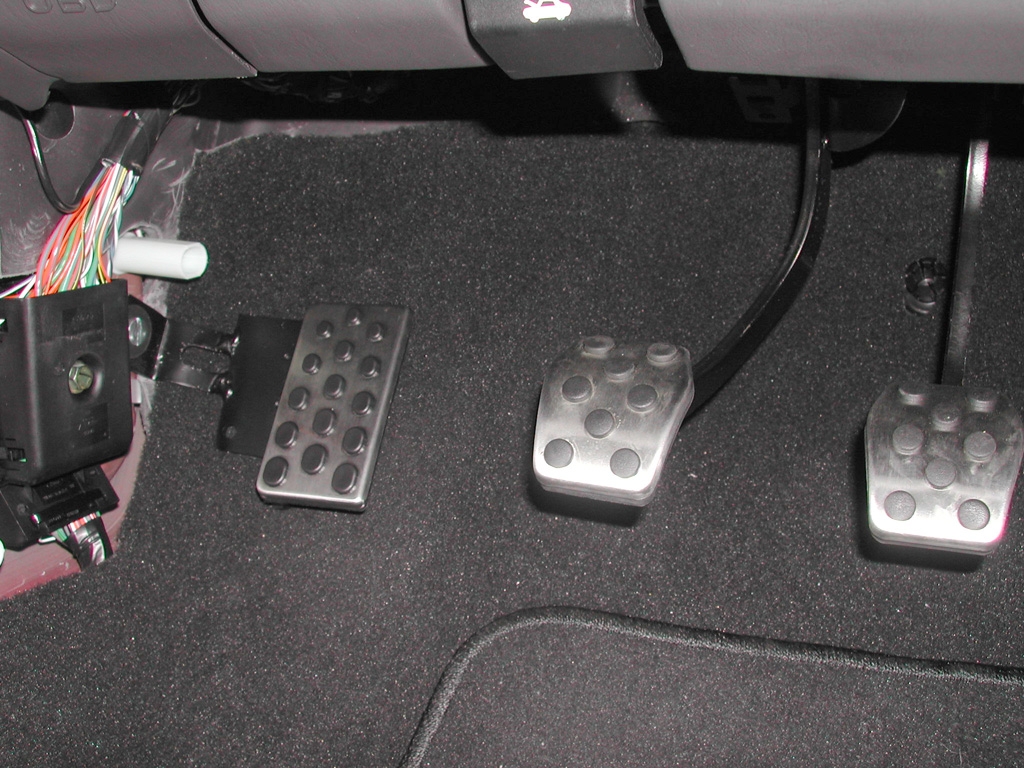
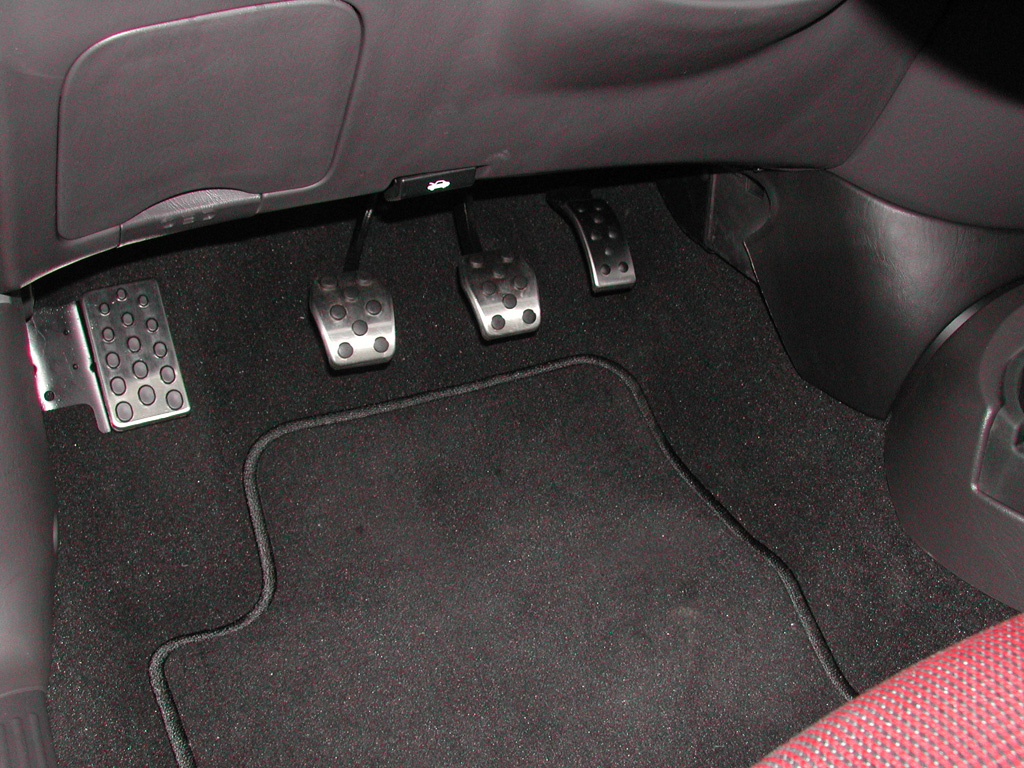
The finished assembly is shown to the left. The dead pedal is securely mounted using a the steel bracket supplied for the Bullitt Mustang, though it is altered to work on the Focus - described below. The end result is a solid feeling, correct looking dead pedal for our SVT Focus vehicles or for any ZX3 or ZX5.
Finished Assembly - mounted - just like a stock pedal should look.
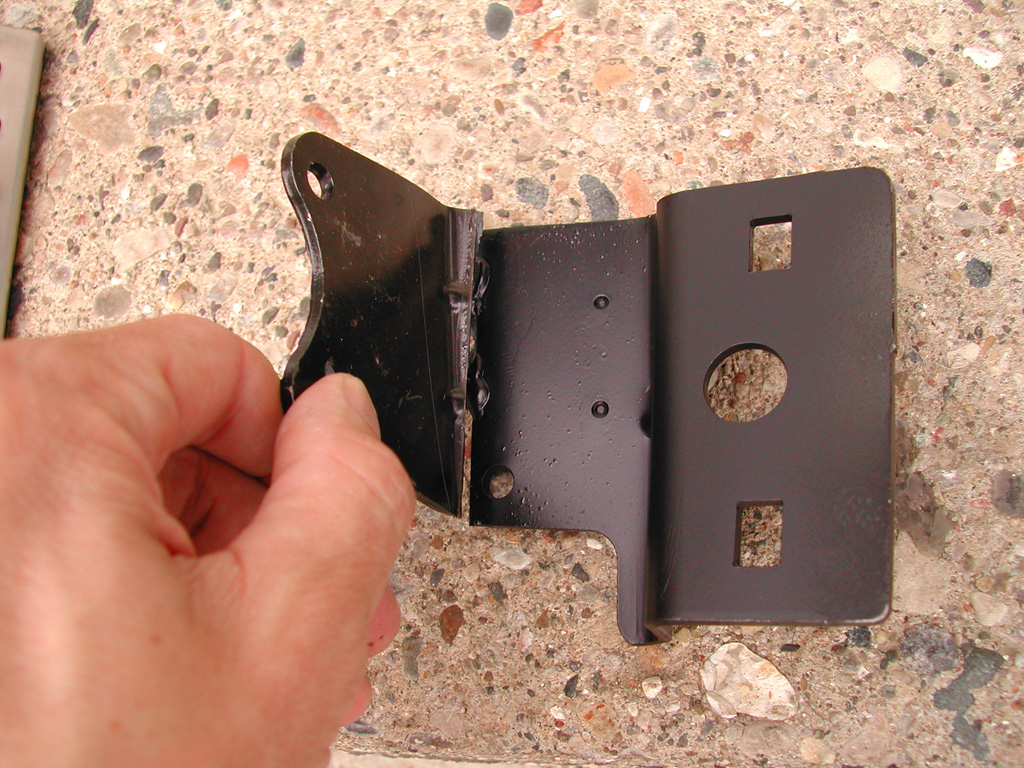
This shot is showing the original bracket from Ford, used to mount the dead pedal in the Bullitt. I have just cut the bracket off at the seam - it needs to be cut here in order to weld on the appropriate angled bracket to mount in the focus. This will not work in the Focus as shown here. You could use a hack saw to cut this off, or use a grinding wheel or steel cutting saw (which I used).
I'm holding the piece of steel I just cut off of the original bracket.
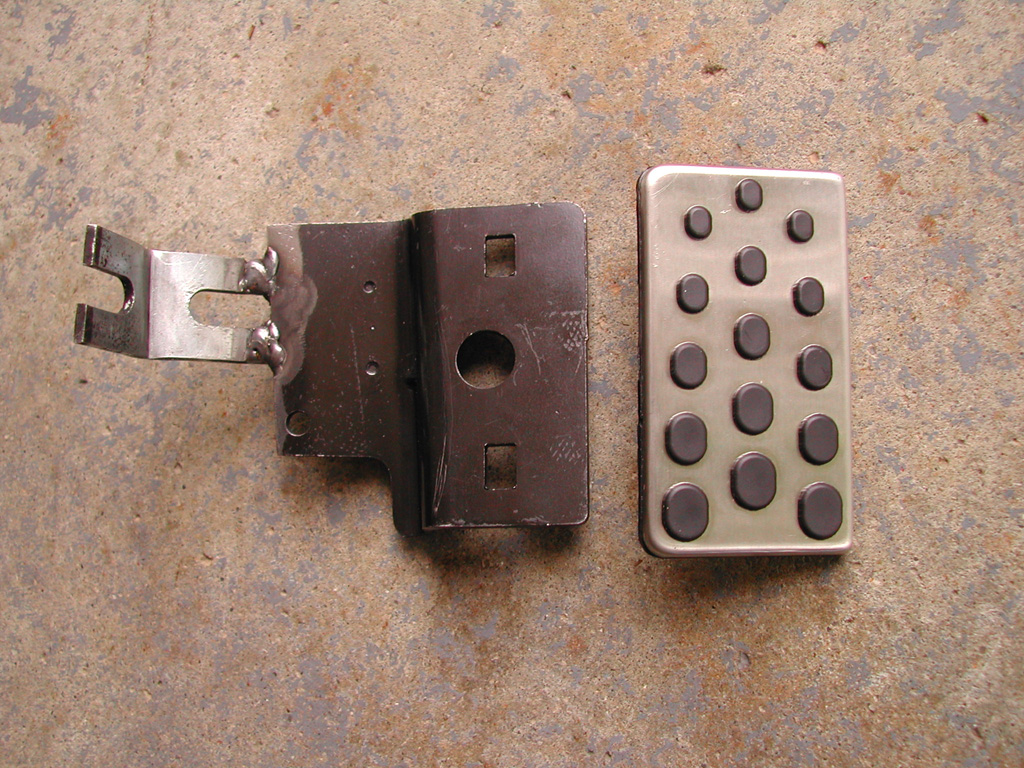
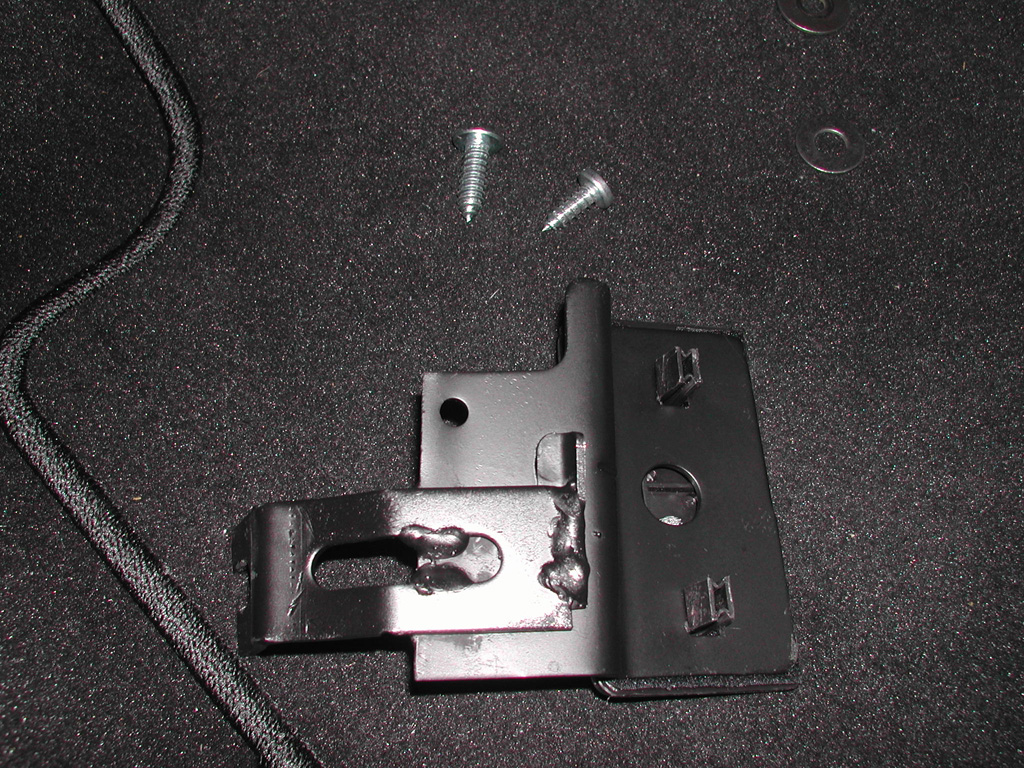
The next step was to weld a bracket onto the original as shown to the left. I will adding a few more picture of the exact bracket and exactly how I bended it. However, this took a couple trys to get it bent correctly. Note that there is a large slot in the metal - this makes the mounting procedure much more simple because you have the ability to push the entire assembly against the focus floor, allowing the screw to slide in this slot. This keeps down the exact precision that would otherwise be needed.
Modified bracket with pedal, ready to snap onto right side of the bracket.
Here is the finished assembly, after I sprayed it with Krylon Semi-Flat black paint and snapped on the pedal. Also shown are different views to give you an idea of the welded bracket.
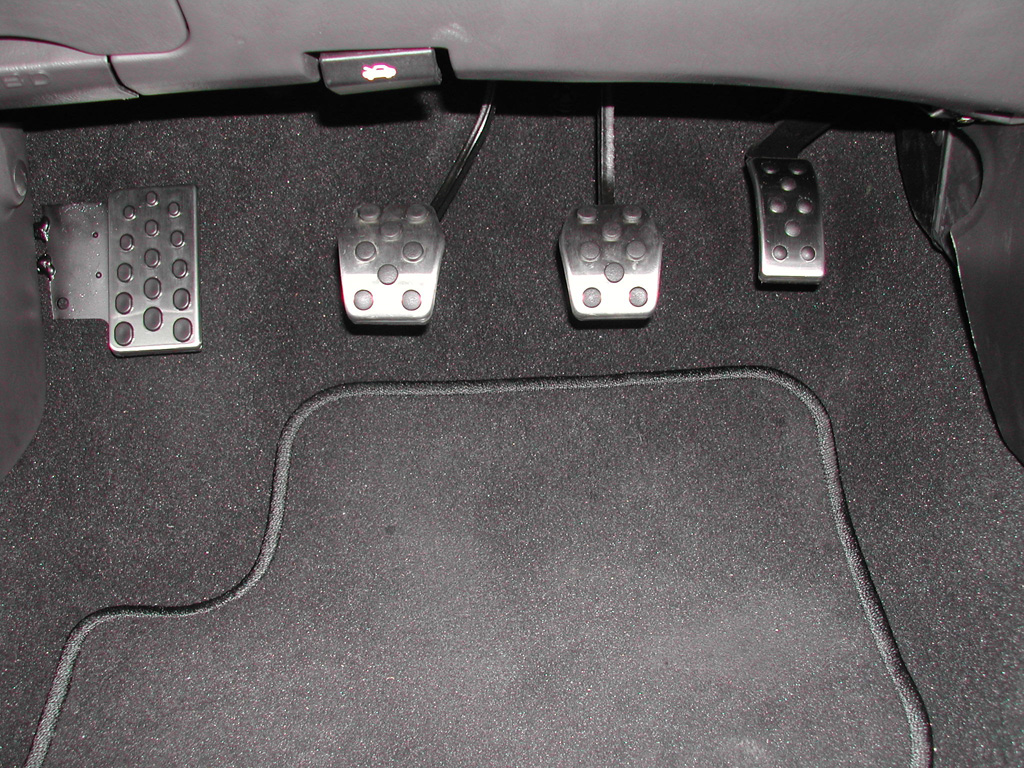
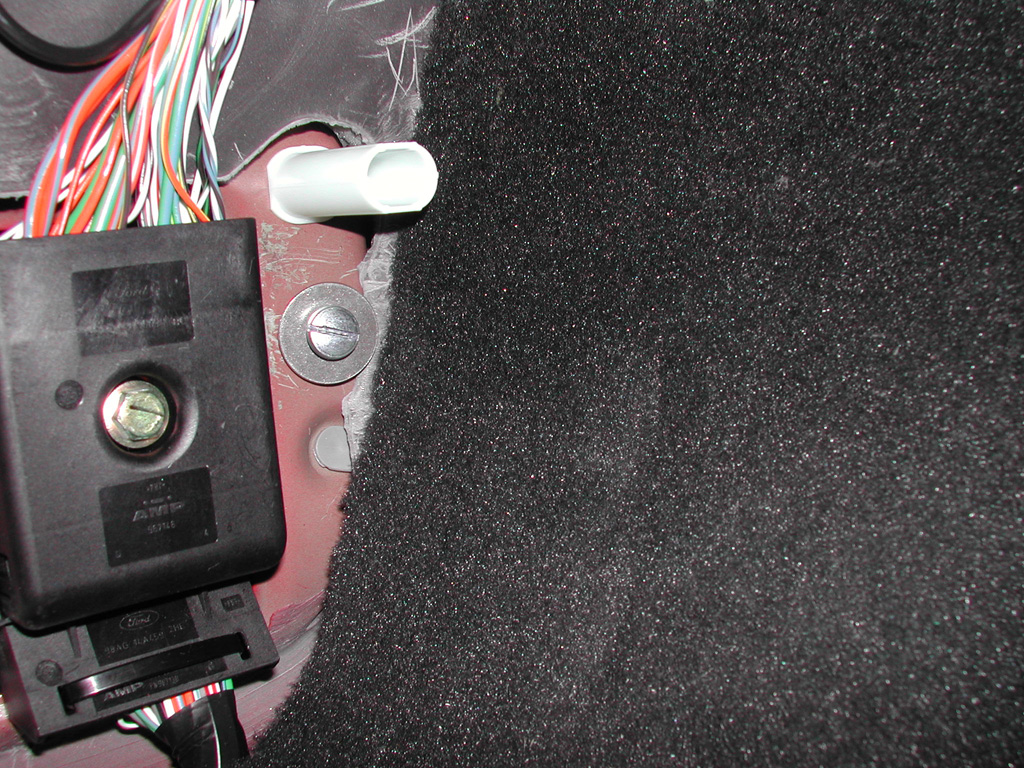
To the left you can see the location where the screw hole needs to be drilled. I used a 1/4 inch sheet metal screw with course threads and drilled the hole dead center between the white plastic kick panel holder and the wire-harness clip (shown in gray under the screw). The only other location I could find to mount the bracket would have been behind the pedal itself, and I didn't like this location because it required drilling thru an area that is exposed under the vehicle.
Mounting screw shown above.
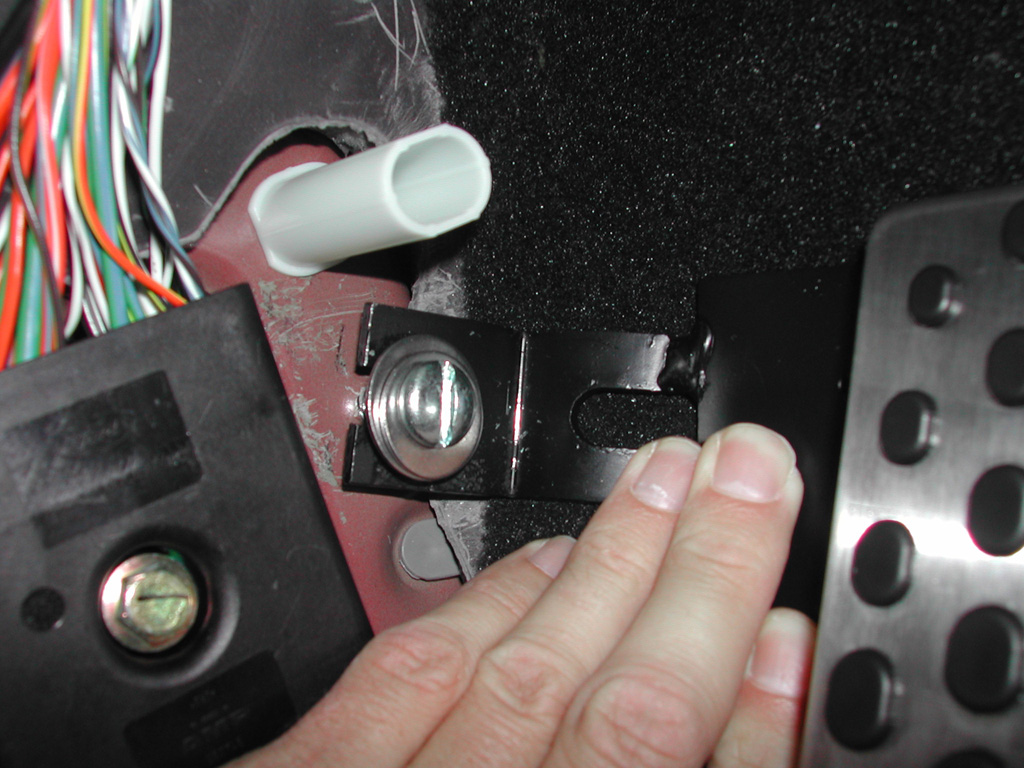
Here the assembly has been put into place and the screw tightened. Holding the bracket assembly tight to the firewall while tightening the screw is necessary.
After adding the kick panel back on, the finished assembly looks as if Ford had put it in the vehicle from the beginning. Also, it feels extremely solid, as a dead pedal should.
Finished Assembly.
Feedback to the Webmaster Fat Bulldog Designs Last Updated: 3/6/2003