|
|
|
 |
|
|
|
|
Given that the original plan called for the Sony 10HT, we reinforced a center section for the ceiling mount and included both power and video. However, since the 10HT projector had such a long waiting list at the time, we opted for a used Sony 400Q which was mounted to the dropped ceiling near the back wall in the photo below. After using the Sony for just about a year, we replaced it with a JVC G11U. This projector had nearly the same zoom ratio, so I was able to mount it in the wall behind the theater. The result was an extremely quiet and cinema-like feeling. |
|
|
|
|
|
|
 |
|
|
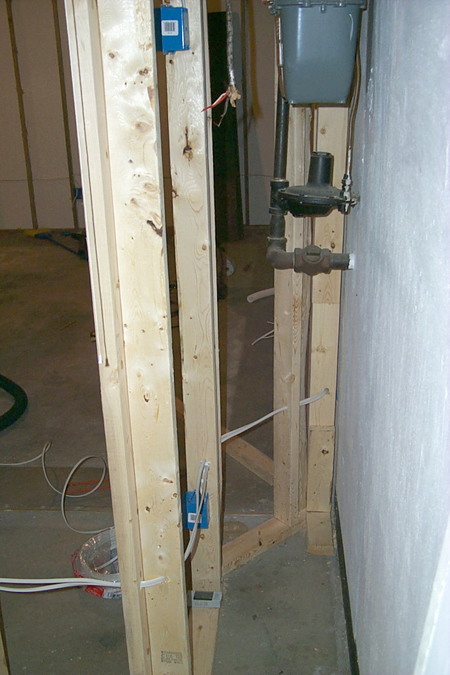
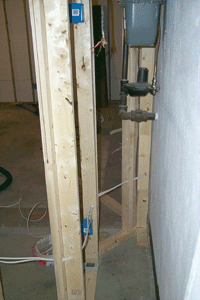
The back rear corner or the theater required boxing in the gas meter as shown to the right. This made for easy access from the laundry room in back without having to remove panels inside the theater in the event of a problem. |
|
|
|
 |
|
|
|
|
|
|
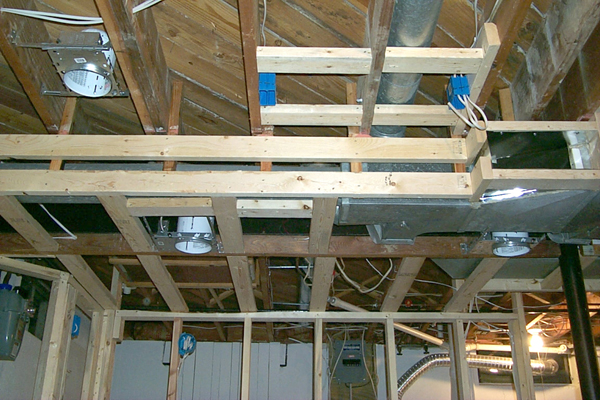
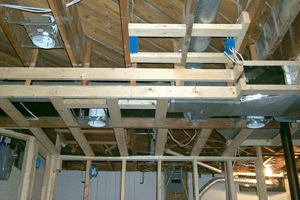
Since the new room was going to sectioned off from the rest of the basement, it would need its own heating and cooling duct work, so we added a cold air return (shown from the outside rear corner of the theater) and also modified the existing heat vent (shown above). If you look closely you can see the pile of speaker wires that feed the room just under the main heat duct. Also, note the two rear speaker outlets on the left side. We don't currently use the set furthest to the back, it was put in just in case we wanted to switch locations of the rears or add a second set.
|
|
|
|
|
|
|
|
 |
|
|
|
|
|
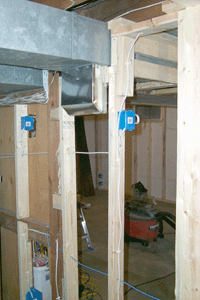
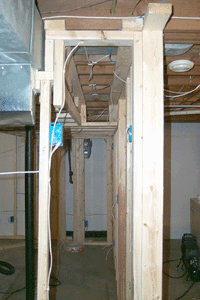
Shown to the right is the rear wall of the theater shot from the stairs side. Notice the raised area on this side of the room just near the back wall. This was done so that the door would fit properly and wouldn't have to be cut down due to the lower ceiling.
|
|
|
|
|
|
|
|
 |
|
|
|
|
|
|
|
|
|
|
|
|
|
|
|
|
|
|
|
|
|
|