|
|
|
 |
|
|
|
|
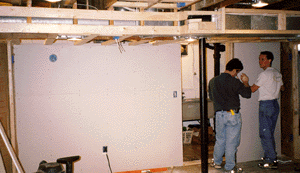
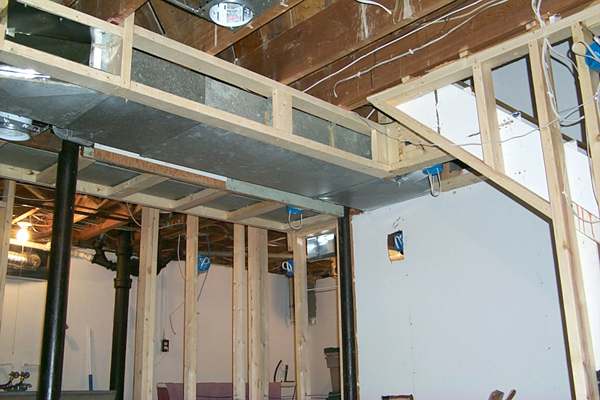
Now fixing the problem was decided to be the best solution.
|
|
|
|
|
|
|
|
 |
|
|
|
|
The room was finally finished, now it was time to clean up the mess. Notice some of the video cables hanging from their outlet in the ceiling. It was so close, I could smell the picture and sound in the air!
|
|
|
|
|
|
|
|
|
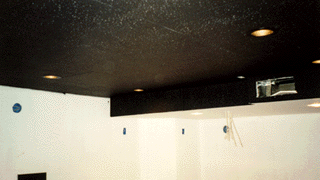
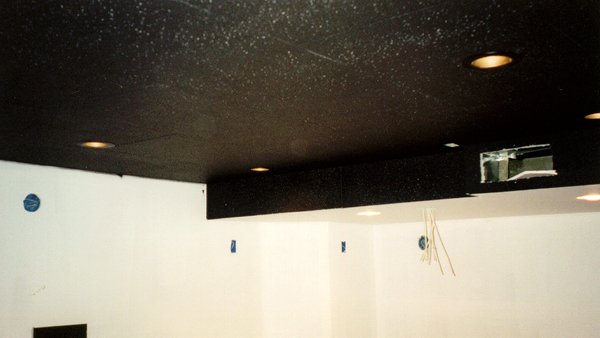
The ceiling tile process was fairly straight forward. We purchased black acoustic ceiling tiles from Armstrong and applied them using ceiling tile adhesive to the drywall. After the whole ceiling and front facing surface from the drop was covered, I lightly painted the ceiling flat black to fill and imperfections or cuts from the application. This is shown at the top of next column.
The tiles are 5/8" thick and are 2'x4'
USG Radar Black
USG2310BL
Armstrong
1 Gal. HENRY® 237 Acoustical Ceiling Tile Adhesive
Model: #237-044
SKU: #387125
$11.96 |
|
|
|
|
|
 |
|
|
|
|
|
|
|
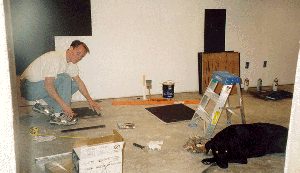
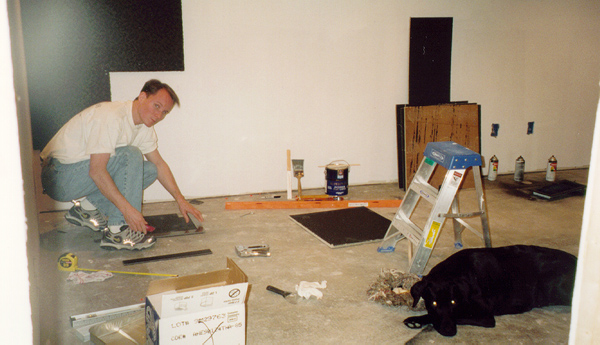
The process of applying the carpet tile was tedious. Each square is 18" by 18" and glue had to first be applied to the back, then stapled to the wall in position to hold it in place while the glue dried. The process was very slow because of all of the cuts for outlets, lighting, speakers, as well as the top and bottom of the walls - though it was well worth the extra work. This took about 9 hours to do the room, but worked out great in the end.
Considering that the room has 14 lights, it started out exceeding bright, however as I began to apply carpet tile on the walls the light grew dimmer and dimmer. Notice our dog, Cinder, helping out by laying on the tools. The room is still nice and bright with the lights on in finished form, but it sure does take a lot of light to overcome the darker colors. In the end we were ecstatic about the final choice of colors.
|
|
|
|
|
|
 |
|
|
|
|
 |
|
|
|
|
|
|
|
|
|
|
|
|
|
|
|
|
|
|
|
|
